Hazmat Table – How to use it? (49 CFR §172.101)
The Hazardous Materials Table (HMT), found in 49 CFR §172.101, is the core reference for anyone shipping hazardous materials. It lists each material’s official name, hazard class, ID number, packaging rules, and transport restrictions.
Think of it as a roadmap for compliance:
- You start with the proper shipping name.
- Then, column by column, you uncover the requirements that dictate packaging, labeling, and handling.
- Missing even a single detail can cause delays, fines, or safety risks.
The 10 Columns of the Hazmat Table
Each column tells you something critical:
- Column 1 – Symbols: Special flags that change how you treat a material.
- Column 2 – Proper Shipping Names: The exact terms you must use on shipping papers.
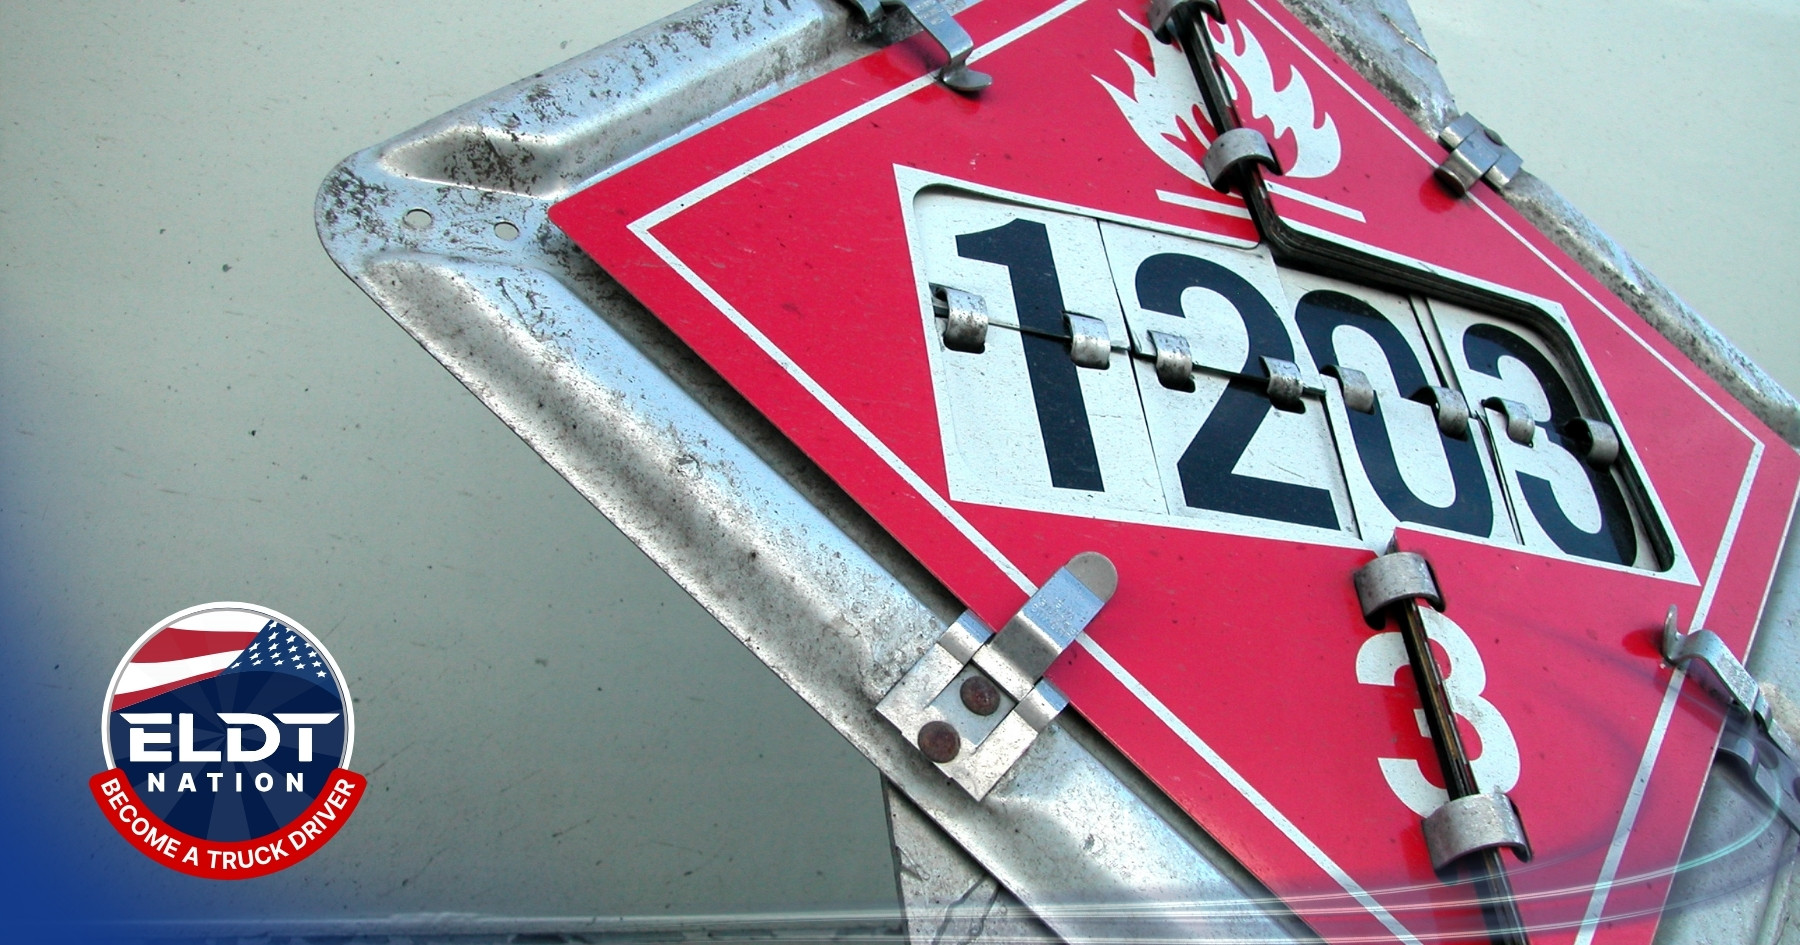
- Column 3 – Hazard Class/Division: Defines the type of risk (flammable, corrosive, toxic, etc.).
- Column 4 – Identification Numbers: The UN/NA codes every hazmat shipment must carry.
- Column 5 – Packing Groups: Indicate relative danger (I = great danger, II = medium, III = minor).
- Column 6 – Label Codes: Show which hazard labels are mandatory.
- Column 7 – Special Provisions: Extra rules or exceptions written in plain language.
- Column 8 – Packaging: References the allowed non-bulk, bulk, and exception packaging rules.
- Column 9 – Quantity Limitations: Maximum amounts allowed on passenger or cargo aircraft.
- Column 10 – Vessel Stowage: How and where materials may be placed on ships
Every truck driver who’s ever pulled hazmat knows the truth: the paperwork can be tougher than the haul itself. The U.S. Department of Transportation created the Hazardous Materials Table (HMT) to make life easier (and safer) by putting everything you need in one place.
How to Use the Hazmat Table (Step by Step)
Here’s how most experienced hazmat drivers and dispatchers use the HMT in practice:
- Step 1 – Start with the name. Find the Proper Shipping Name in Column 2.
- Step 2 – Look left for symbols. Column 1 can completely change your requirements.
- Step 3 – Get the basics. Hazard Class (3), ID Number (4), and Packing Group (5).
- Step 4 – Check labels. Column 6 tells you which hazard labels must be applied.
- Step 5 – Note special rules. Column 7 might add limits or exceptions.
- Step 6 – Confirm packaging. Column 8 sends you to the right part of the regs.
- Step 7 – Check mode limits. Column 9 (aircraft limits) and Column 10 (vessel stowage).
Pro tip: Always double-check with the latest CFR before rolling out. Rules change, and inspectors expect you to be up to date.
Common Mistakes to Avoid
- Using the wrong name. If it’s not the proper shipping name, it’s wrong. Period.
- Skipping subsidiary hazards. Some entries have multiple hazard classes — don’t miss them.
- Forgetting technical names. For “n.o.s.” entries, you must include the actual chemical.
- Overlooking quantity limits. Just because it fits in your trailer doesn’t mean it’s legal on a plane.
What Is Hazmat and Why It Matters for Truckers
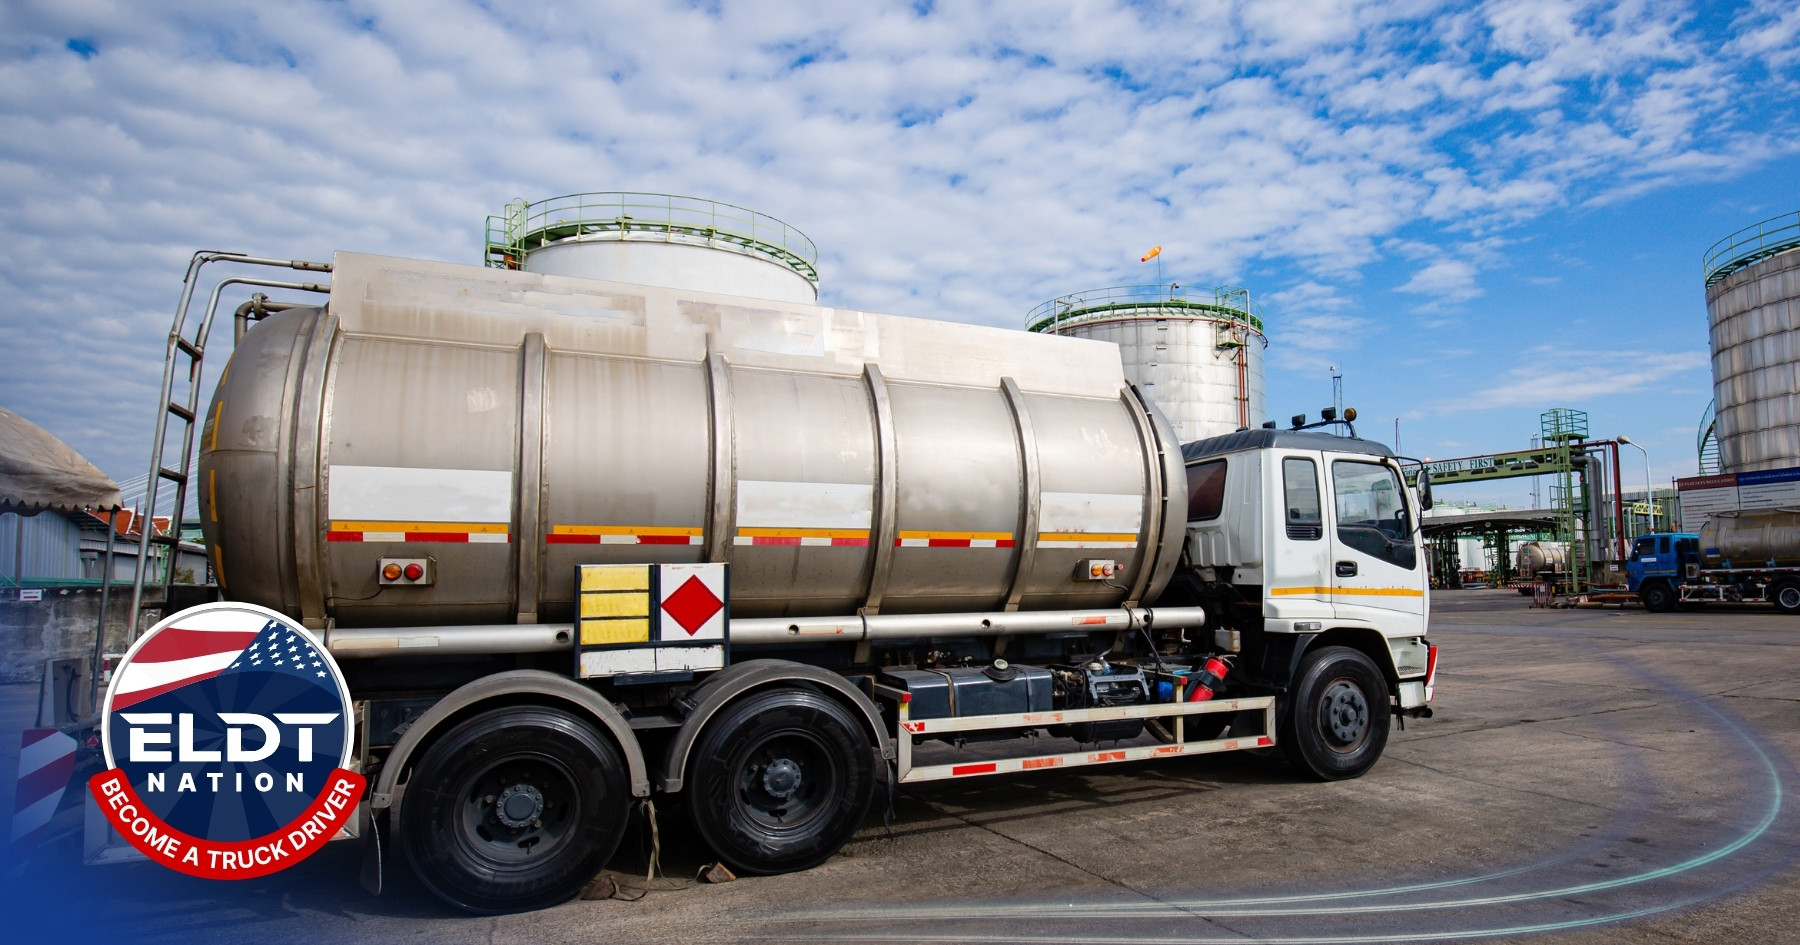
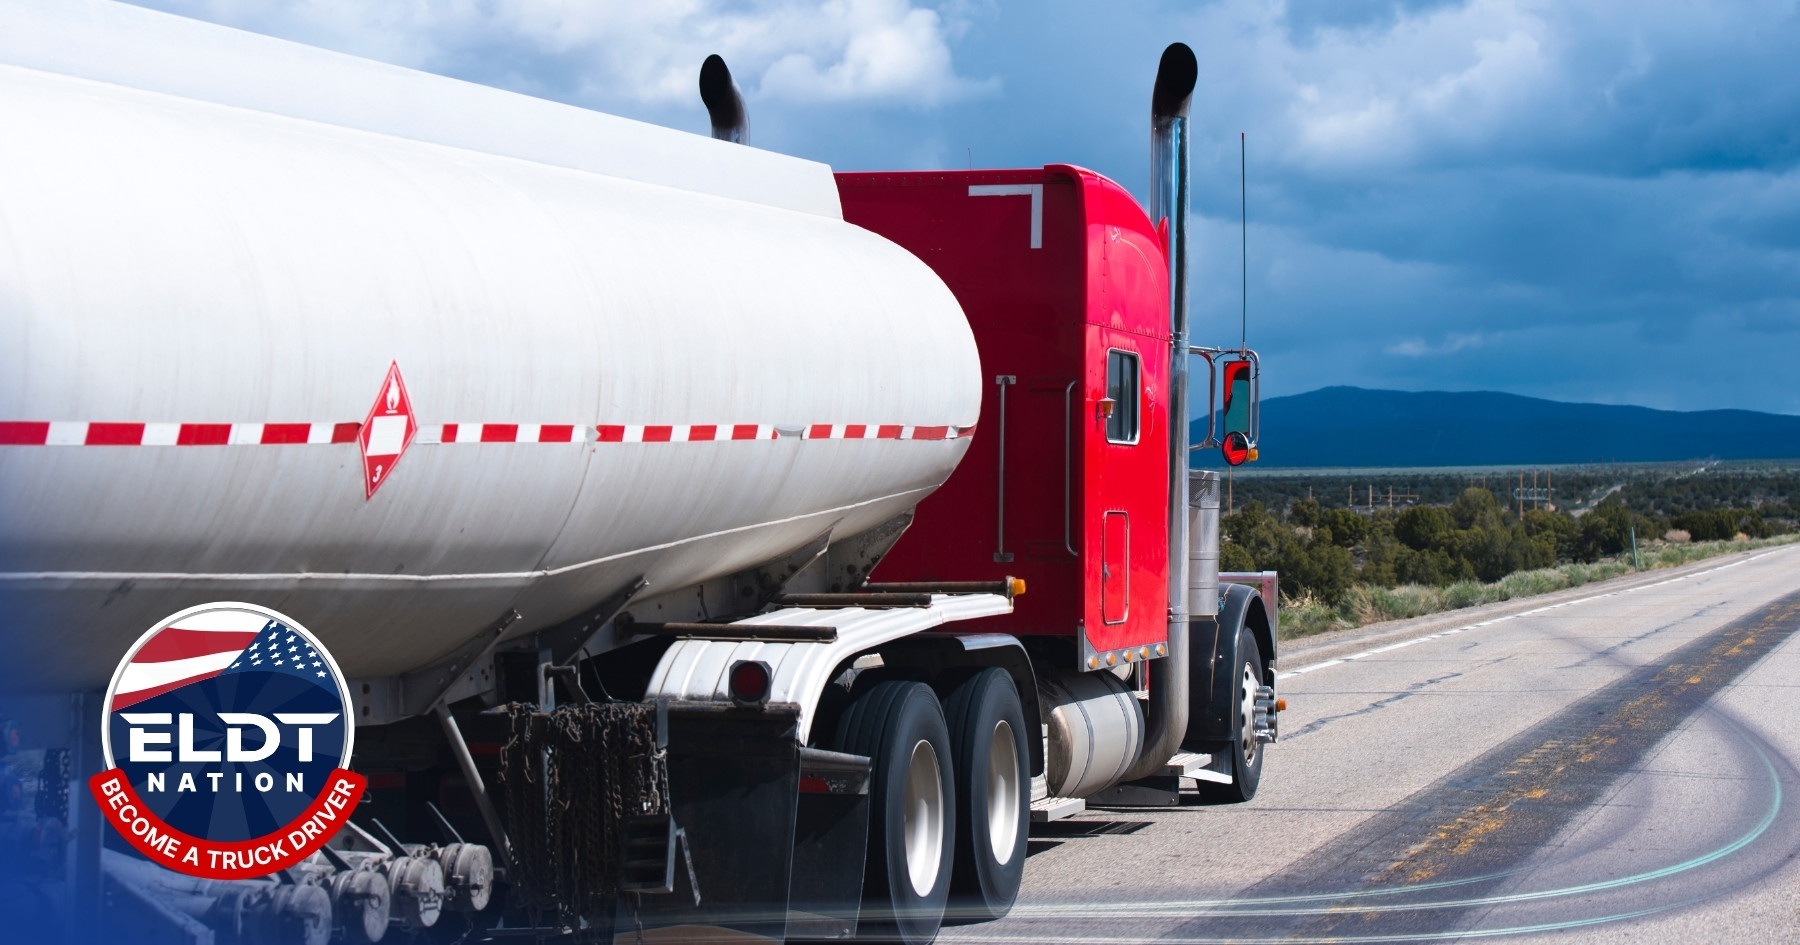
Hazmat stands for hazardous materials — substances that can cause harm to people, property, or the environment if not handled properly. This includes flammable liquids, corrosives, explosives, gases, radioactive materials, and toxic chemicals.
For truck drivers, understanding hazmat isn’t just about compliance — it’s about safety and professionalism.
- Safety: A single misstep in labeling, packaging, or paperwork can lead to spills, fires, or exposure.
- Career growth: Having a hazmat endorsement on your CDL opens doors to higher-paying jobs and specialized loads.
- Legal compliance: The DOT and FMCSA require strict adherence to hazmat rules — violations can mean fines, out-of-service orders, or even loss of CDL.
Knowing the Hazmat Table is the first step to hauling hazardous freight with confidence.
Related posts


%20Endorsement%20%E2%80%93%20Online%20Theory%20Aligned%20With%20FMCSA%20Rules.jpg)


