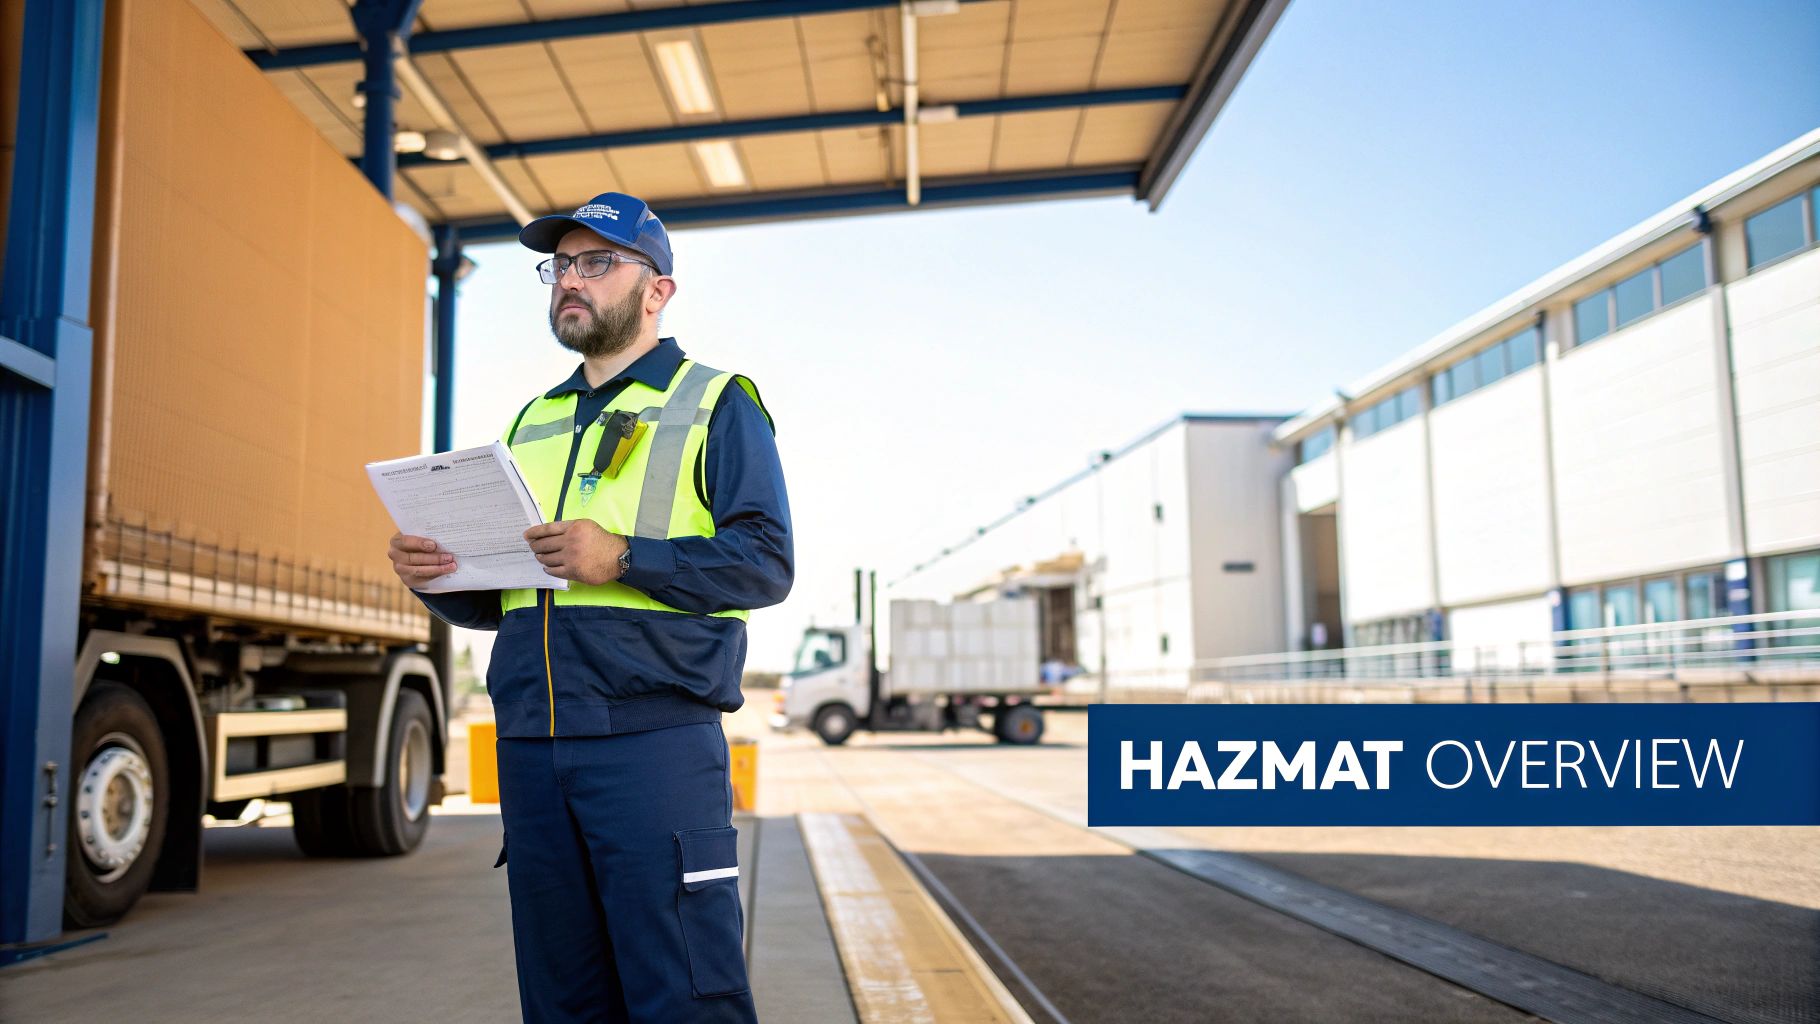
Your Simple Hazmat Endorsement Study Guide: Pass the Test
So, what is a hazmat endorsement? It’s the "H" on your CDL. It proves you can haul materials that are considered hazardous. Think fuel, chemicals, and other loads that need extra skill to move safely.
This isn't just about another test. It's about joining a special group of pro drivers. You'll be trusted with the most important cargo on the road.
What a Hazmat Endorsement Means for Your Trucking Career
If your CDL is your high school diploma, the hazmat endorsement is your pro certification. It shows companies you have the training to handle jobs others can't.
This special skill makes you more valuable to any trucking company. It opens up new jobs—jobs that are often steadier and pay more.
Get Better Pay and More Jobs
Adding that "H" to your license is a fast way to boost your income. Why? Because hazmat drivers are in high demand. Not everyone wants to do the extra work to get certified. This works in your favor.
Companies pay more for drivers who can legally and safely haul hazardous freight. The more endorsements you get, like the "X" (hazmat and tanker), the more you can earn.
Here’s why it’s a smart move:
- More Money: Hazmat drivers often earn thousands more each year.
- Better Job Security: Your special skills make you hard to replace. That means more stability.
- More Freight Options: You can haul more types of loads. This means more work and less sitting.
- Career Growth: It can be a big step toward better, higher-paying jobs in trucking.
The Responsibility You Carry
The pay is great, but the responsibility is bigger. When you haul hazmat, you are the first line of defense against accidents that could hurt people and the environment.
This isn't just about knowing rules in a book. It’s about using them every day to keep your load, yourself, and everyone around you safe. Your focus on safety is everything.
This level of responsibility is why a good hazmat endorsement study guide is so important. You’re not just memorizing answers for a test. You’re learning the steps that protect lives.
The industry's focus on safety is growing. In fact, the market for hazmat suits and safety gear is expected to hit over $11 billion by 2030. You can see more on this at EIN Presswire, which shows how seriously safety is taken.
Your Step-by-Step Plan to Get the Hazmat Endorsement
Getting your hazmat endorsement might look like a lot of work. But it's really just a few clear steps. Think of it like a roadmap: finish one step, then move to the next.
Let's break down the whole process for you. Follow these steps, and you’ll know exactly what to do. No guesswork needed.
Step 1: Finish Your ELDT Theory Training
Before you can even take your test, you have to do the Entry-Level Driver Training (ELDT). This is not optional. The FMCSA made it a required first step for anyone getting their H endorsement for the first time.
The good news? You can do this online, at your own speed. The key is to pick a school that's on the official FMCSA Training Provider Registry. If they aren't on that list, your training won't count.
This training is the foundation for everything. It covers the core safety rules you’ll need for the test and for your whole career hauling hazmat. Take it seriously. It will set you up for success.
Once you sign up, you'll go through their online course. After you pass, the school will send your results to the FMCSA. That gives you the green light to move on. Need a good course? Check out our FMCSA-approved hazmat endorsement training to get started.
Step 2: Pass the TSA Security Threat Assessment
This part is all about security. You'll be trusted with dangerous materials. So, the Transportation Security Administration (TSA) needs to run a full background check. This is called a Security Threat Assessment.
It has two parts: an online application and getting your fingerprints taken. You'll start by filling out the application on the TSA website. You’ll need to give personal info and your work history. It's very important to be honest and accurate. Mistakes can cause long delays.
After you apply, you'll set up a time to get fingerprinted at a special center. The TSA uses these to check for any crimes that would disqualify you. As a rule, big felonies like terrorism will stop you for good. Others might disqualify you for a few years.
Here’s a simple look at the TSA process:
- Fill Out the Online Application: Put all your info on the official Universal Enrollment Services (UES) website.
- Pay the Fee: There's a fee for the check that you won't get back. It's usually around $90.
- Schedule Fingerprinting: Find a center near you and make an appointment.
- Wait for Approval: The TSA will review everything and tell you if you're clear. This can take a few days or a couple of months. Most drivers hear back in 30-60 days.
Step 3: Pass the Written Test at the DMV
Once your ELDT is done and the TSA has cleared you, it's time for the last step. You need to pass the written knowledge test at your local DMV. This is where a good study guide really helps.
The test usually has around 30 multiple-choice questions. You'll need to get at least 80% right to pass. The questions will cover everything from hazard classes and placard rules to emergencies and shipping papers.
Don't take this test lightly. Even experienced drivers need to study because the questions are very specific. Review your ELDT training and do practice tests. When you go to the DMV, bring your ELDT certificate and TSA clearance letter, plus your other IDs. Passing this test is the final step to getting that valuable "H" on your CDL.
The Core Knowledge You Need to Pass
Alright, let's get straight to it. This is the stuff that will be on your test. If you can get a good grip on these topics, you’ll walk into the DMV feeling ready.
Think of this as your training camp. We'll cover the must-knows: the Hazardous Materials Table, the nine hazard classes, placards, and how to handle your cargo safely. Let's get started.
Master the Hazardous Materials Table
The Hazardous Materials Table (HMT) is like your bible for hazmat. It looks complicated at first, but it’s just a giant cheat sheet. It tells you everything about your load. The test will expect you to know how to read it.
You don't have to memorize the whole thing. But you must know what each column means and how to find info fast.
Each column in the HMT gives you a key piece of information, like:
- The material’s official shipping name
- Its hazard class
- The UN/NA ID number
- Which placards you need
- Any special rules for that chemical
Knowing how to use this table is half the battle. It's key for the test and for staying safe on the job every day.
Understand the 9 Hazard Classes
Every hazardous material fits into one of nine classes. You will be tested on these, for sure. You don't need to be a scientist, but you do need to know the danger each class represents.
The nine hazard classes are the universal language of hazmat. They tell you, firefighters, and everyone else what kind of danger is in your trailer. Knowing them is not optional.
Let’s break down the nine classes you need to remember. The test loves to use common examples, so pay attention to those.
The 9 Classes of Hazardous Materials
A common test question might be, "Gasoline belongs to which hazard class?" You'll need to know right away that it's a Class 3 Flammable Liquid. Get comfortable with this table.
Nail the Placarding Rules
Placards are the diamond-shaped signs on the outside of your trailer. They aren't just for decoration. They are a critical tool for emergency crews. If there's an accident, firefighters need to know what they are dealing with in seconds.
The rules can seem tricky, but there’s a system. The HMT tells you which placard to use. Sometimes you'll need one no matter how little you have. Other times, it's based on weight—usually 1,001 pounds.
A huge part of any hazmat endorsement study guide is knowing when and where to put these signs. You usually need them on all four sides of your truck or trailer. The test will definitely ask about placarding mixed loads. So, you'll want to study the "Table 1" and "Table 2" rules in your CDL manual.
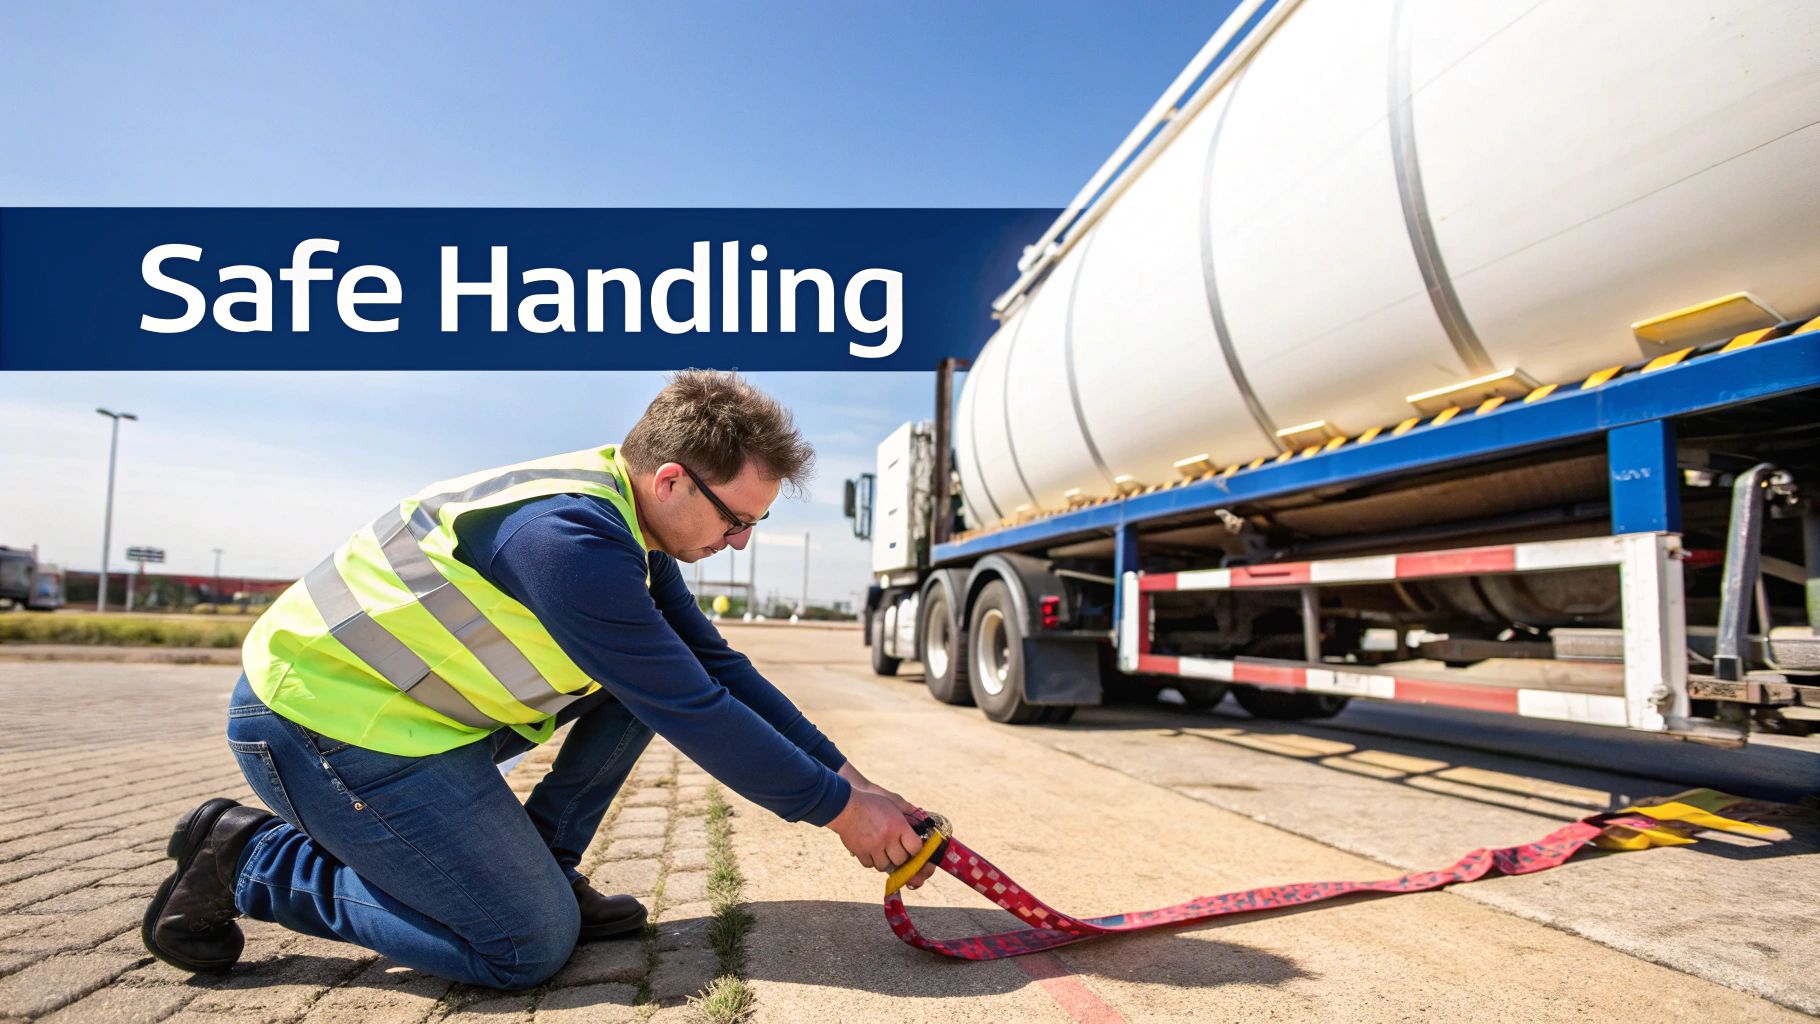
Safe Loading, Unloading, and Securing
Finally, let's talk about the hands-on part: handling the cargo. This is all about common sense and staying safe.
You have to know the right way to load and unload. That means:
- Park on a flat, solid surface.
- Set your brakes and chock the wheels. Every time.
- Check that your shipping papers match what's being loaded.
- Know how to keep materials separate. You can't just throw everything in together. Some chemicals are dangerous if they mix.
Securing the load is just as important. The rules are strict for a reason. You need to be sure your cargo can't shift or fall. This means using blocking, bracing, and tie-downs to lock everything down. Your responsibility for that load starts the second it's on your truck. It doesn't end until it's safely off.
Making Sense of Hazmat Rules and Paperwork
Knowing the rules isn't just for the test. It's about keeping everyone safe on the road, every single day. The rulebook can look thick and confusing, but it doesn't have to be. Let's break down the rules that really matter on the job.
We'll focus on the big three: shipping papers, package markings, and truck placards. These three things work together. They tell the world what you're hauling, what the dangers are, and how to handle an emergency.
Your Most Important Document: The Shipping Papers
Your shipping papers are the single most important document you’ll carry with a hazmat load. Period. If anything goes wrong, first responders look for these papers right away to see what you're carrying. That’s why the rules for them are so strict.
These papers must have specific details:
- The proper shipping name and UN/NA ID number from the HMT.
- The material’s hazard class.
- The total amount of the hazardous material.
- An emergency phone number to call for expert info about the material.
Keeping these papers easy to reach isn't just a good idea—it's the law. In an emergency, every second counts. Your shipping papers must be within your immediate reach while you are in the truck. They must be on the driver's seat when you are out.
This is so emergency crews can find them instantly. The exam loves to ask about this, so remember it: within reach or on the seat.
Package Markings and Truck Placards
Shipping papers are your inside record. Markings and placards are your outside warnings. Markings are the labels put right on the packages or boxes. They identify what's inside each one.
Placards are those big, diamond-shaped signs on the outside of your trailer. They tell every driver and emergency worker about the main danger of your load. You have to put them on all four sides of your vehicle so they can always be seen.
The whole trucking industry needs skilled drivers to move these materials safely. Of the 763,867 interstate carriers in the U.S., a special group of 93,838 carriers is approved for hazmat. That means about 12.3% of all interstate carriers are trusted with this important work. You can learn more about the scale of the hazmat industry and see how vital these jobs are.
Special Rules for Parking and Emergencies
Hauling hazmat comes with its own rules for when you stop. You can't just park a truck loaded with explosives next to a busy restaurant.
Here are the key parking rules you must know:
- Never park within 5 feet of the road, unless your job requires it.
- You must be able to see your truck from 300 feet away in both directions.
- When parked, you must check on your truck every 2 hours.
- Parking with Class 1 (Explosives) is very strict. Never park within 300 feet of an open fire, a bridge, a tunnel, or a crowded place.
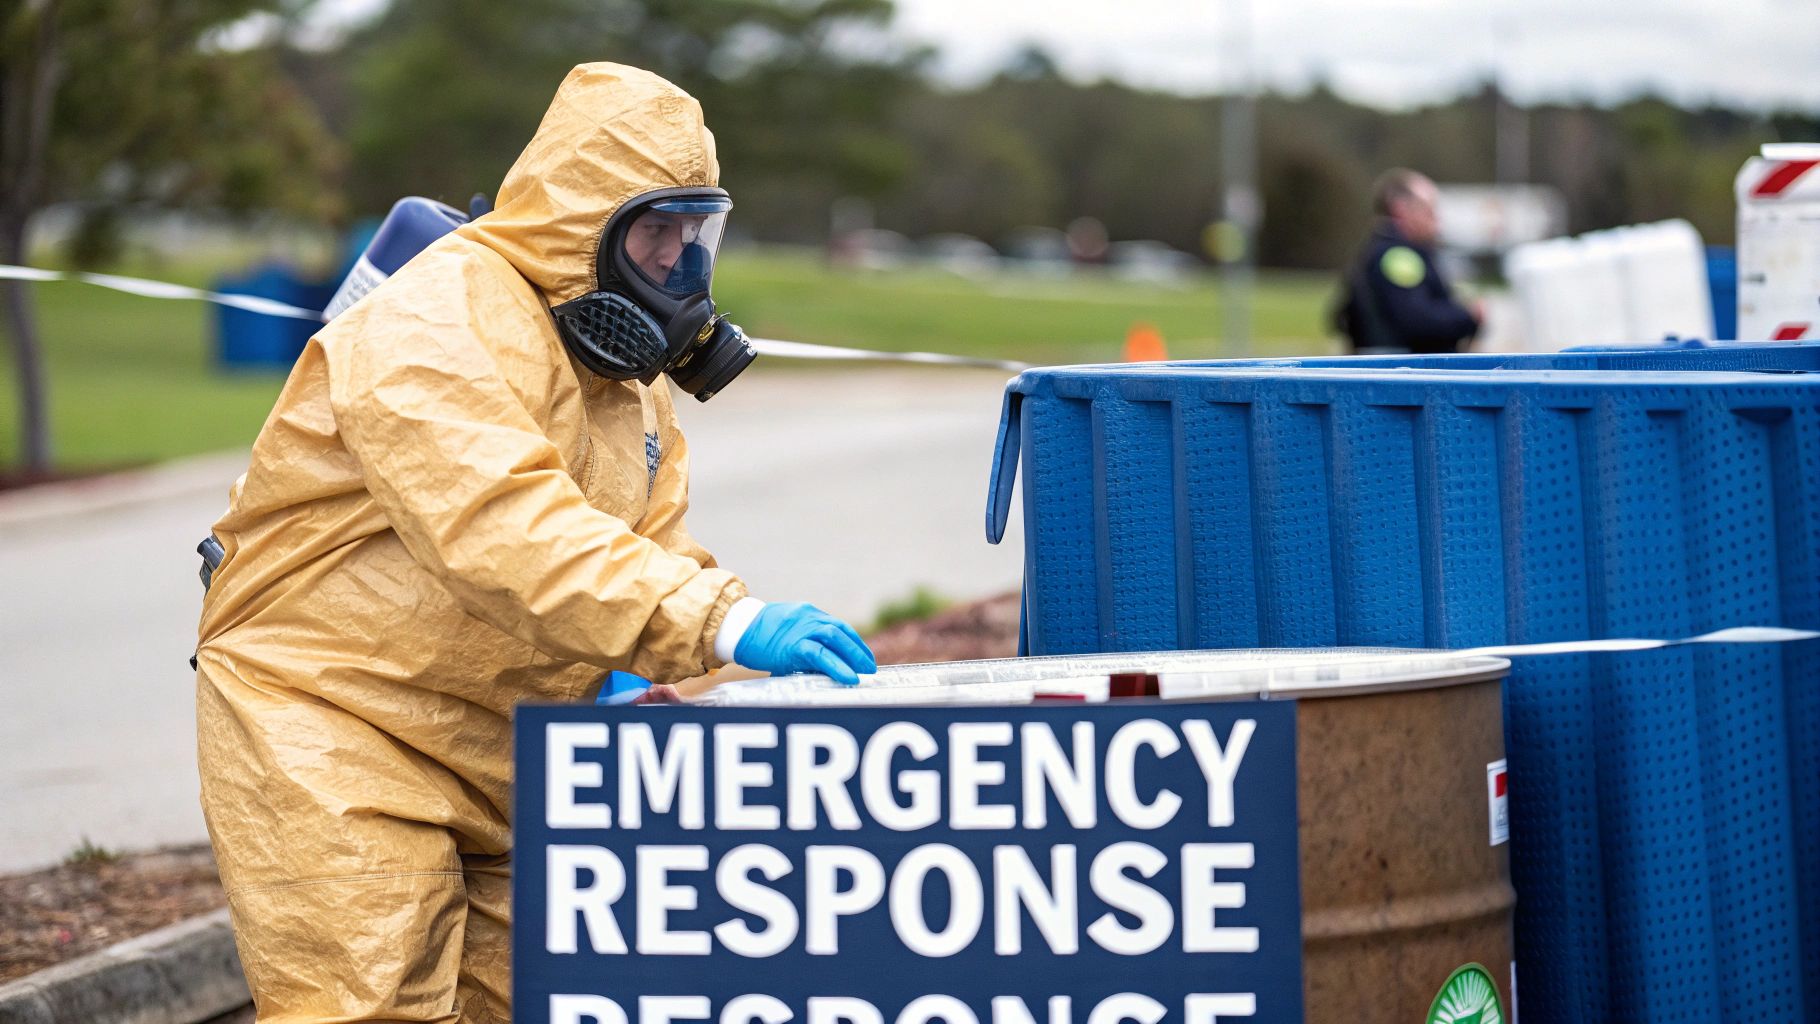
If you ever have a leak or a spill, your first job is to protect the public. Secure the area, call for help, and follow your emergency plan. This is a core part of your job and is heavily covered in any good hazmat endorsement study guide. Knowing what to do in a crisis is just as important as knowing how to drive.
Practice Questions to Prepare for the Real Test
The best way to know if you’re ready is to test yourself. Think of this as a practice run. See how you do on questions just like the ones on the real exam at the DMV.
Don't just look for the right answer. We'll explain why each answer is correct. This helps the information stick. Use these questions to find out what you know well and what you need to study more in your hazmat endorsement study guide.
General Knowledge Practice Questions
Let’s start with some basic questions. These cover the fundamentals.
1. A driver who transports hazardous materials must have their shipping papers in which location when they are at the truck's controls?
a) In a pouch on the driver's side doorb) Within their immediate reachc) In the sleeper berthd) On the passenger seat
Answer: b) Within their immediate reach. The rules are strict. If you're driving, the papers must be right where you can grab them. When you're out of the truck, they must be on the driver's seat where they can be seen.
2. Who is responsible for providing the necessary placards for a hazmat shipment?
a) The driverb) The shipperc) The receiverd) The truck manufacturer
Answer: b) The shipper. The shipper has to give you all the right placards, shipping papers, and markings. Your job as the driver is to check that you have the correct placards and that you display them the right way.
Placarding and Labeling Questions
Placarding is one of the biggest topics on the test. You have to know the rules inside and out. First responders depend on these signs.
3. A truck is carrying 1,200 lbs of a "Table 2" material. Is placarding required?
a) No, placarding is never required for Table 2 materials.b) Yes, placarding is required for any amount over 1,001 lbs.c) No, placarding is only required for "Table 1" materials.d) Yes, but only on the back of the trailer.
Answer: b) Yes, placarding is required for any amount over 1,001 lbs. This is a key number to remember. For most materials in Table 2, once the total weight hits 1,001 pounds, you have to put the right placards on all four sides.
The 1,001-pound rule is a key part of the placard rules. It's almost guaranteed to be on your test. Make sure you understand how it works for mixed loads and single materials.
4. What does a placard with the number "4" at the bottom of the diamond signify?
a) It's a flammable liquid.b) It's an explosive.c) It's a corrosive material.d) It's a flammable solid.
Answer: d) It's a flammable solid. The number at the bottom of the placard diamond tells you the hazard class. Class 4 materials are flammable solids, like matches and sulfur.
If you need a refresher on all nine classes and how to pass the final exam, check out this guide to acing the hazmat endorsement test.
Loading, Unloading, and Emergency Response
Finally, let's cover questions about what you do on the job—handling cargo and dealing with emergencies.
5. Which of the following is a key rule when loading corrosive materials?
a) Load them on top of other cargo to prevent leaks.b) Ensure the cargo is loaded so you can see it in your mirrors.c) Never load corrosive liquids next to or above certain other materials, especially those that can be damaged by a leak.d) Load them as quickly as possible to minimize exposure.
Answer: c) Never load corrosive liquids next to or above certain other materials. This is a very important rule. Corrosives can eat through packages and damage other freight. Worse, they can mix with other chemicals and cause a dangerous reaction. Always check the rules for separating materials.

Your Final Checklist Before Test Day
You’ve studied hard, and now you’re at the finish line. This is your final check to make sure you walk into the DMV ready to pass on your first try.
Think of this as your pre-game plan before the big test.
Last-Minute Knowledge Check
Do a quick mental check of these must-know topics. These are the big ones that show up again and again on the hazmat test.
Can you confidently explain these five things?
- The 9 Hazard Classes: You should know the main danger of each class.
- The 1,001-Pound Rule: When does this weight mean you need placards for Table 2 materials?
- Shipping Paper Location: Know exactly where they must be when you're driving (within arm's reach) and when you're away from the truck (on the driver's seat).
- Placard Placement: You need to know that placards go on all four sides of the vehicle.
- Emergency Response: What are your first duties in a leak or spill? It always starts with protecting the public and calling for help.
These five points are the core of hazmat safety. If any of them feel a bit unclear, spend a few more minutes reviewing that section in your study guide. It's time well spent.
Managing Test Day Jitters
It’s normal to be nervous before a big test. The key is not to let it get to you. Get a good night's sleep. Cramming at the last minute will only hurt you.
When you sit down for the test, take a deep breath and take your time. Read every question carefully. Then read all the answers before you pick one. The test is designed to catch people who rush.
If you get stuck on a tough question, don't worry. Make your best guess, mark it, and move on. You can always come back to it later if you have time. Getting stuck will only waste time and stress you out.
Remember, you’ve already done the hard work by studying. The test is just your chance to show what you know. You're ready for this, so trust your training. Walk in there with your head held high, stay calm, and you’ll do great.
Ready to start your journey with the best training in the business? ELDT Nation is an FMCSA-approved online provider that makes getting your endorsements simple and affordable. Our self-paced courses, expert instructors, and automatic reporting to the FMCSA get you on the road faster. Start your ELDT training with ELDT Nation today!
Related posts

%20Endorsement%20%E2%80%93%20Online%20Theory%20Aligned%20With%20FMCSA%20Rules.jpg)


